This guide covers how you can quickly get started using klusternetes.
Spinning Up a Cluster in Klusternetes
Login:
Login to klusternetes using your Gmail or GitHub account. You will see the following screen:
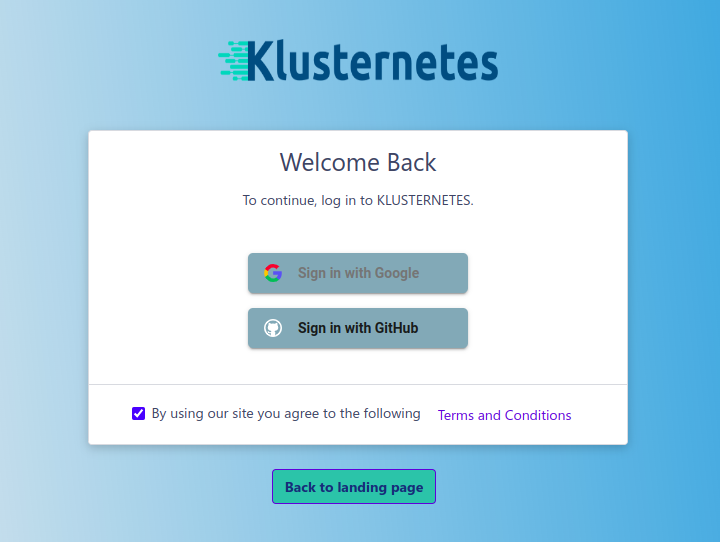
klusternetes login page
Account Creation:
Once logged in, you will be directed to the account creation page. Name the account with the desired name and click Submit
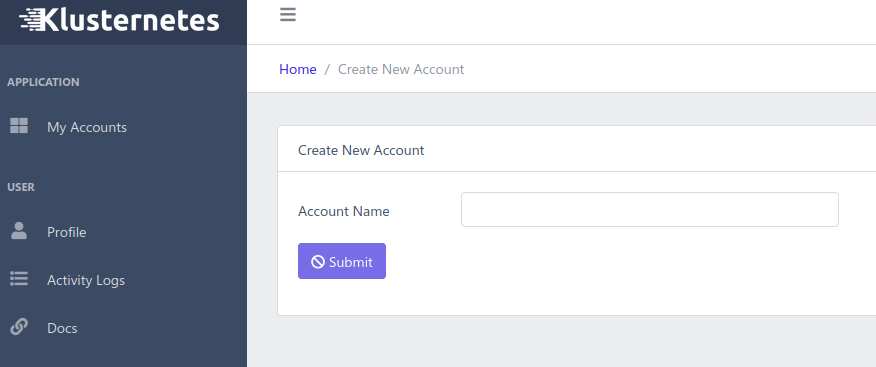
Account creation page
Select a Plan:
You will be prompted to select a plan for the account. Choose the free tier plan called the Starter plan and press Subscribe.
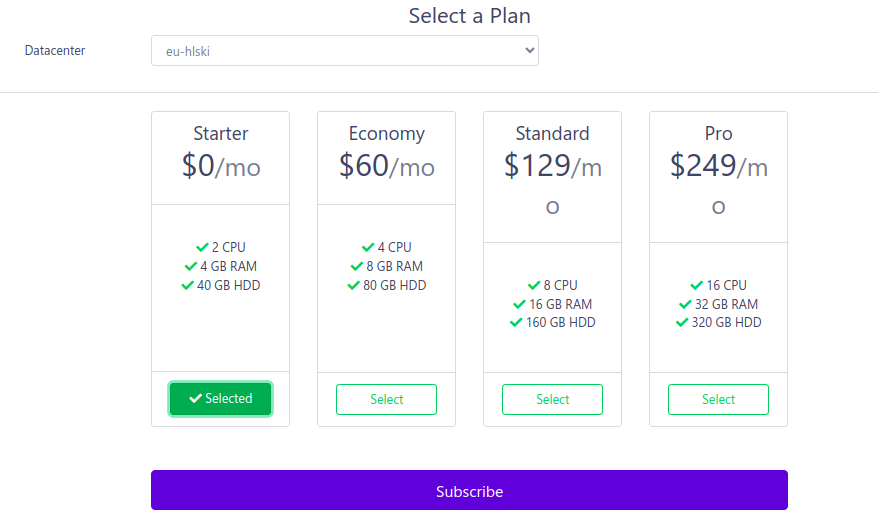
Select a plan page
Cluster Creation:
After the account creation, you will be directed to the cluster creation page. Fill in the required fields like Name, K3s version, and Auto Expire.
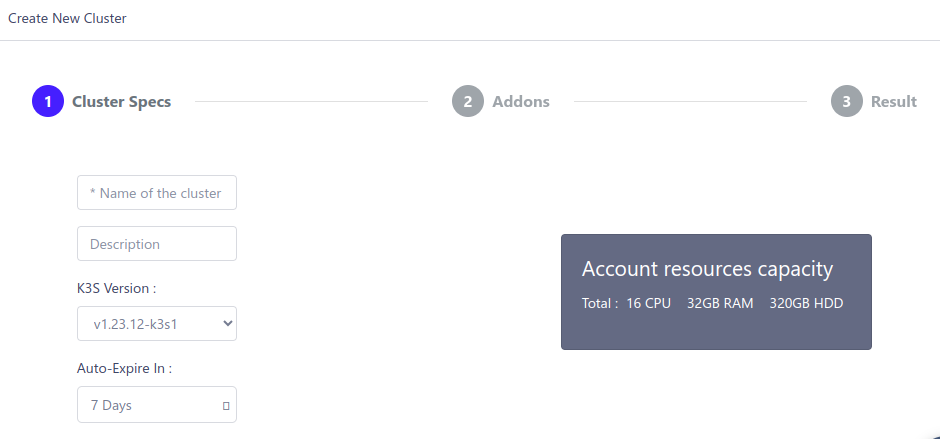
cluster creation page
Select Cluster Plan:
Choose the cluster plan from the following and click Next.

sizes of the cluster
Marketplace Add-ons:
Here are the marketplace add-ons, where the selected add-on can be installed into your cluster along with the cluster creation. Klusternetes offers over 60 add-ons in different categories.
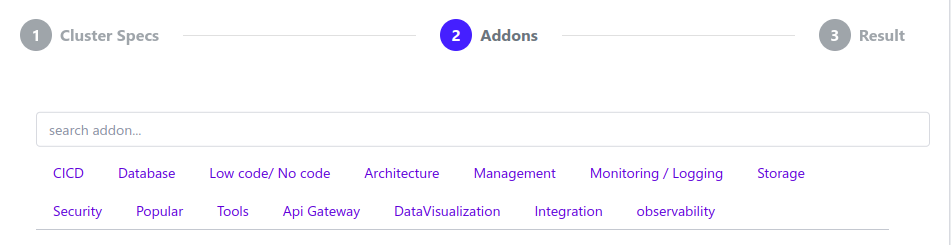
Marketplace add-ons.
Select the required add-on if needed, or click the Submit button. This triggers the cluster creation process, which takes less than 20 seconds.
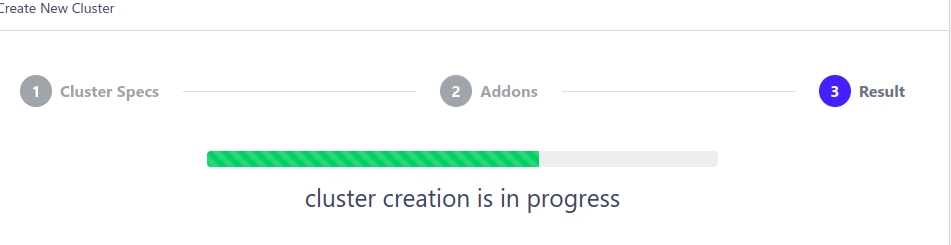
Cluster creation page
Download Kubeconfig:
Once the cluster is created, a download button will be displayed, allowing you to download the kubeconfig file for the cluster.
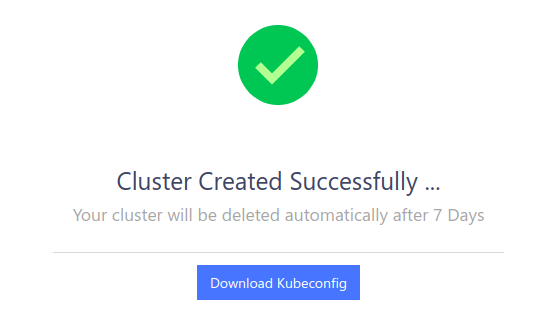
Cluster creation of a successful message
Check Add-on Status:
The status of your add-ons will also be displayed on the same page. If no add-on was selected, an alert icon will be displayed instead of the add-on status.
Download Kubeconfig Commands:
Click on the Download Kubeconfig button to get three commands to download the kubeconfig into your local terminal.
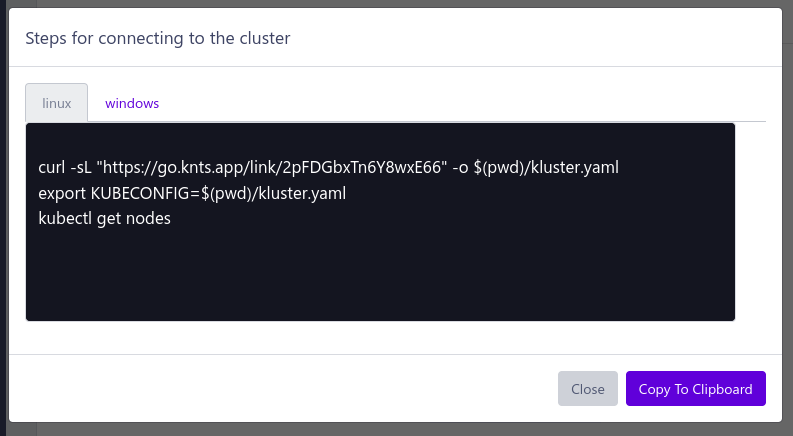
Download kubeconfig window
You can now use the cluster in your local terminal.