This guide walks you through the creation and usage of a self-hosted data center with Klusternetes.
Note:
This is only eligible for the Enterprised customers.
Overview
In addition to the managed option, Klusternetes offers a self-hosted option that empowers customers to create and manage their own data centers within their environment. A data center in this context refers to a base Kubernetes cluster that can be deployed on any cloud platform. This flexibility allows customers to leverage their existing infrastructure, ensuring seamless integration and control over their Kubernetes deployments while enjoying the powerful features and ease of use provided by Klusternetes.
Types of Data Centers:
Prerequisite
- A fully functional Kubernetes cluster.
- An Ingress controller is installed in the cluster with SSL passthrough enabled.
- A domain with wildcard entry and SSL certificate.
Creation of data center
Login to Klusternetes
Login to klusternetes using your Gmail or GitHub account. You will see the following screen:
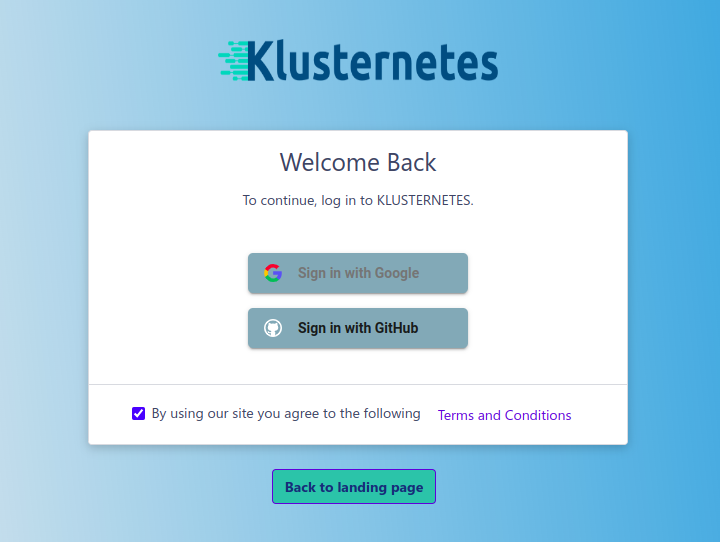
klusternetes login page
Datacenter Creation
Go to the Home page of the Klusternetes UI, and in the left navigation bar, click on the Data center option.
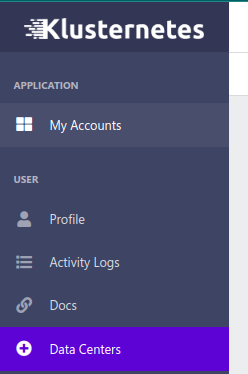
Navigation bar
You will be redirected to a data center page that looks something like this:
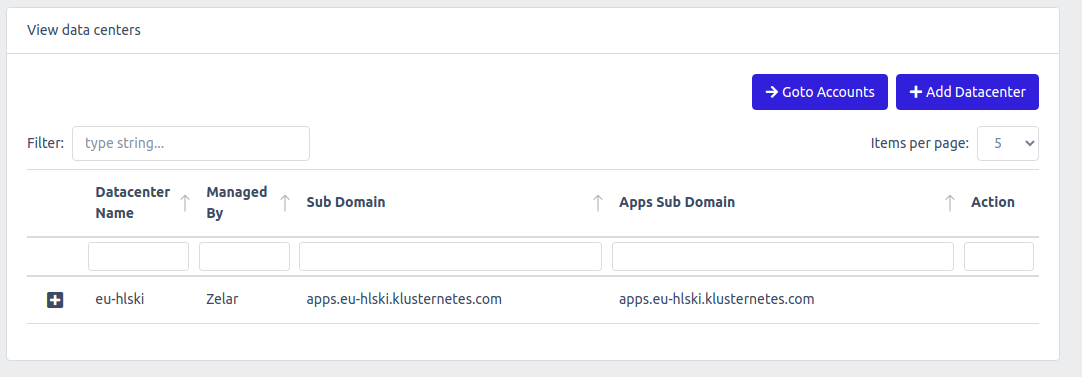
Datacenter page
Adding Datacenter
Click on the Add Datacenter option at the top left, and enter the details of your Kubernetes cluster and the domain. Then click on Submit.
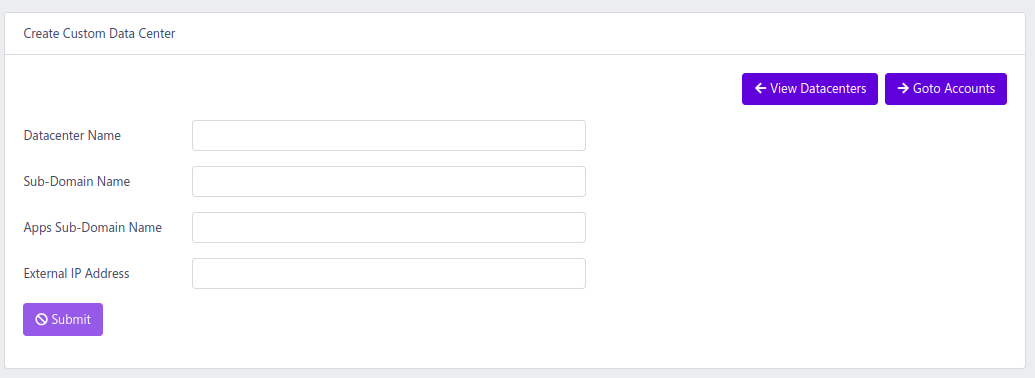
Add datacenter page
Datacenter name= Name of your choice
Sub-domain Name= Name of the domain with wild card entry
Apps Sub-domain Name= Name of the domain with wild card entry
External IP Address= External IP address of the Cluster.
Configuring
Once the details are submitted, a Helm chart reference will be displayed on the same page.
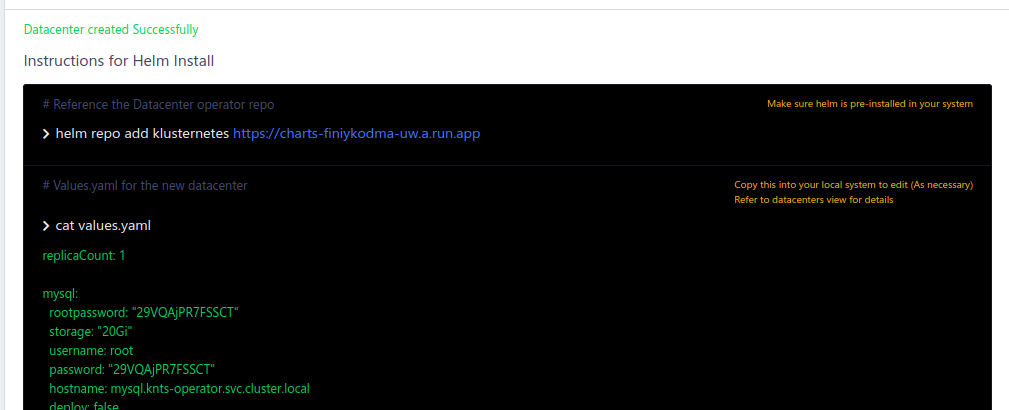
helm instructions after database creation
Follow the instructions given there to configure your cluster as a data center.
Verification
Verify the operator is up and running by using the following command:
kubectl get po -n knts-operator
You can create an account once the knts-operator pod is up and running.
Account Creation
Go to the Home page. You will be directed to the account creation page. Name the account with the desired name and click Submit.
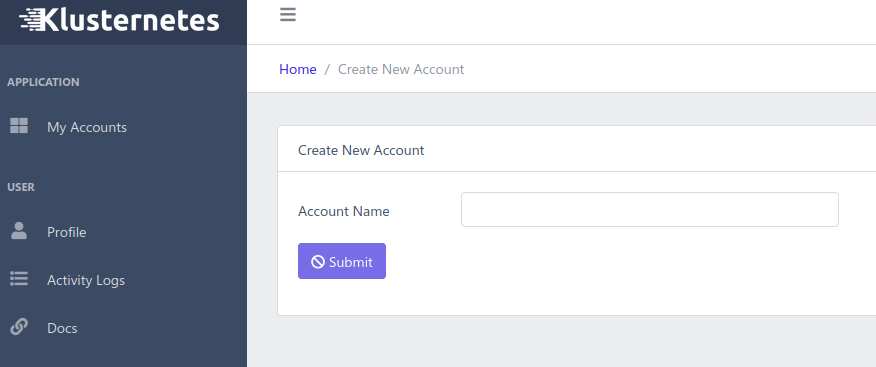
Account creation page
Select a Plan and data center
You will be prompted to select a plan for the account. At the top, you will see an option for Data Center. Choose the data center that you created in the above step and continue with the steps from Getting Started.
